CSS Selectors 101: Targeting Elements with Precision
Understanding How to Precisely Target Elements Using CSS Selectors
A web development learner and tech enthusiast, documenting my journey into modern web development. I share what I learn, write practical coding tips, and publish beginner-friendly blogs on programming concepts and tools.
When we start learning CSS, it often feels like we are just writing colors, fonts, and spacing. But very quickly, we notice something important: CSS does nothing unless it knows which HTML element it should apply to.
This is where CSS selectors come in.
Selectors are not about design.
Selectors are about choice.
Before CSS can style anything, it must first decide what to style. That decision is made using selectors.
Why CSS Selectors Are Needed
HTML creates structure.
CSS adds appearance.
But a real webpage contains many elements: headings, paragraphs, buttons, links, and sections. If CSS applied styles blindly, everything would look the same.
Selectors solve this problem by acting as filters.
They help us say:
style all elements of this type
style only these specific elements
style one unique element
Without selectors, CSS would not be able to target elements correctly.
Selectors as Ways to Choose Elements
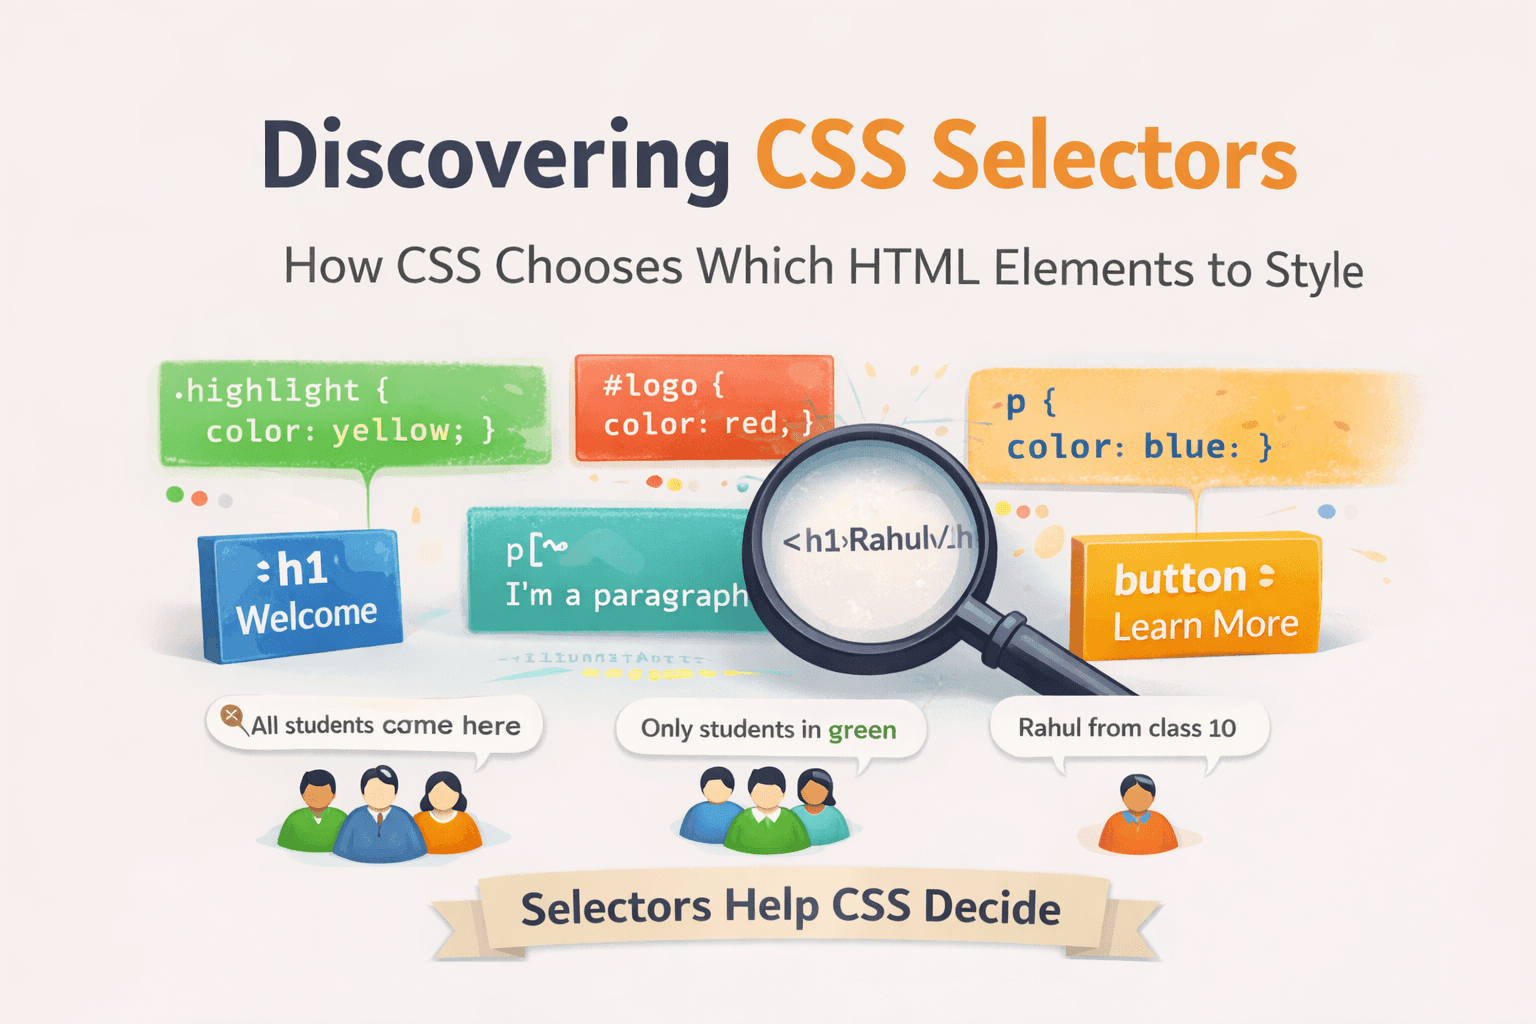
A good way to think about selectors is like addressing people.
If we shout, “Everyone come here,” we get everyone.
If we say, “All students come here,” we get a group.
If we say, “Rahul from class 10,” we get one person.
CSS selectors work the same way.
They tell the browser who should receive the styling.
Element Selector (Selecting by Tag Name)
The element selector targets elements using their HTML tag name.
Consider this HTML:
<h1>Welcome</h1>
<p>This is the first paragraph</p>
<p>This is the second paragraph</p>
If we write this CSS:
p {
  color: blue;
}
CSS selects all <p> elements and applies the color blue to them.
This selector is useful when we want:
consistent base styling
all elements of the same type to look similar
However, element selectors are very broad.
If later we want one paragraph to look different, this selector becomes limiting.
That is why element selectors are best used for general rules, not detailed design.

Class Selector (Selecting a Group with Meaning)
A class selector allows us to select elements based on purpose, not just tag name.
Now consider this HTML:
<p class="highlight">Important note</p>
<p>Normal paragraph</p>
And this CSS:
.highlight {
  background-color: yellow;
}
Here, CSS selects only the element with the class highlight.
The important idea is this:
A class does not describe what the element is.
It describes why the element exists.
Multiple elements can share the same class:
<p class="highlight">Warning message</p>
<div class="highlight">System alert</div>
This makes class selectors reusable and flexible.
That is why classes are the most commonly used selectors in real projects.
ID Selector (Selecting One Unique Element)
An ID selector is used to target one specific element.
Example HTML:
<h1 id="main-heading">My Website</h1>
CSS:
#main-heading {
  font-size: 32px;
}
The ID selector starts with # and must be unique.
Only one element in the entire page can have that ID.
Because IDs are unique, they are very strong selectors.
But this strength can become a problem if we overuse them.
That is why IDs are best used for:
unique layout anchors
main containers
elements that appear only once
For styling repeated elements, classes are always better.

Group Selectors (Applying the Same Style Together)
Sometimes, different elements need the same styling.
Instead of repeating CSS, we can group selectors.
Example:
h1, h2, h3 {
  font-family: Arial;
}
Here, CSS applies the same font to all three heading types.
Group selectors help us:
avoid duplicate code
keep CSS clean
maintain consistency
They do not change how selection works, they simply allow us to apply one rule to multiple selectors.
Descendant Selectors (Selecting Based on Structure)
HTML elements are usually nested inside each other.
Consider this HTML:
<div class="card">
  <p>This is inside a card</p>
</div>

<p>This is outside the card</p>
If we write:
.card p {
  color: green;
}
CSS selects only the paragraph inside .card, not the one outside.
This selector depends on structure, not just class or tag.
Descendant selectors help us style elements differently based on where they live in the document. This becomes extremely important in real layouts where components contain other elements.
Basic Selector Priority (Very High Level)
Sometimes, multiple selectors target the same element.
Example:
p {
  color: blue;
}

.text {
  color: red;
}
HTML:
<p class="text">Hello</p>
Even though both rules apply, the text becomes red.
At a very basic level, we can remember:
Element < Class < ID
element selectors are weakest
class selectors are stronger
ID selectors are strongest
This simple idea helps us understand why some styles override others.
Before and After Styling (Conceptual Example)
Before CSS, HTML looks plain:
<h1>Title</h1>
<p>Description text</p>
After adding selectors and styles:
h1 {
  color: black;
}

p {
  color: gray;
}

.highlight {
  color: red;
}
Now the page has structure and meaning.
The difference happens not because of fancy CSS, but because selectors correctly identify what should change.